One of the main benefits of having a custom irrigation installed is improved water efficiency. While all systems offered by Blue Jay Irrigation are extremely efficient, a drip irrigation system is typically 90% efficient or higher.
This means that much less water is wasted, which is good for both the environment and your bank account. Many homes in Ontario prefer this method of irrigation based on those two reasons alone. However, there are also many other benefits of a drip irrigation system that are important to remember. They are typically easy to install and set-up, relatively inexpensive, and can improve overall yard health - especially in plants that are prone to disease problems when faced with heavy moisture accumulation above the root system. Before making a decision about what type of irrigation system is best for your particular needs, a little background information on drip irrigation systems and how they work is important to have.
This blog will provide an in-depth look at exactly what drip irrigation is, how the system is installed, and some advantages and disadvantages of using this method. Let’s get started!
What is drip irrigation - and how does this system work?
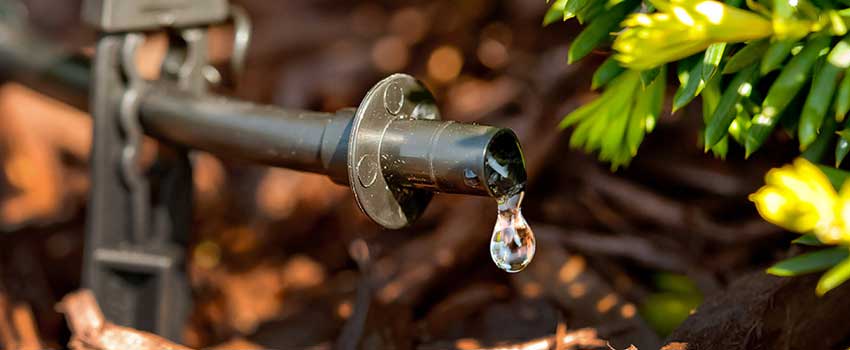
Drip irrigation applies water directly to the ground or soil very slowly, which results in very little water loss due to evaporation or runoff. The soil soaks up water, which is then directly taken into the root system of the plant. This explains why this type of irrigation method is so efficient - there is little to no water loss at the source and a direct line/application to the roots.
Primitive drip irrigation systems were used for thousands of years - most frequently in Asia and the Middle East. Modern drip irrigation dates back to the 1860’s, when German researchers began experimenting with clay pipes just below the surface of the soil. Finally, the first above-ground drip line in North America was pioneered in the 1960’s (Dew Hose). Today, drip irrigation systems are extremely easy to install, which helps to keep costs down while also ensuring that your yard will look its absolute best.
A drip irrigation system typically consists of 7-8 different parts. Although systems can vary slightly, almost all of them will be made up of the following :
- Isolation and control valves to control the flow of water
- Backflow preventer to prevent dirt, salmonella, bacteria etc. from being sucked back into the system
- Pressure regulator to reduce water pressure and keep it at a constant level
- Filter to clean the water and remove grains of sand, rust from pipes, snails, etc.
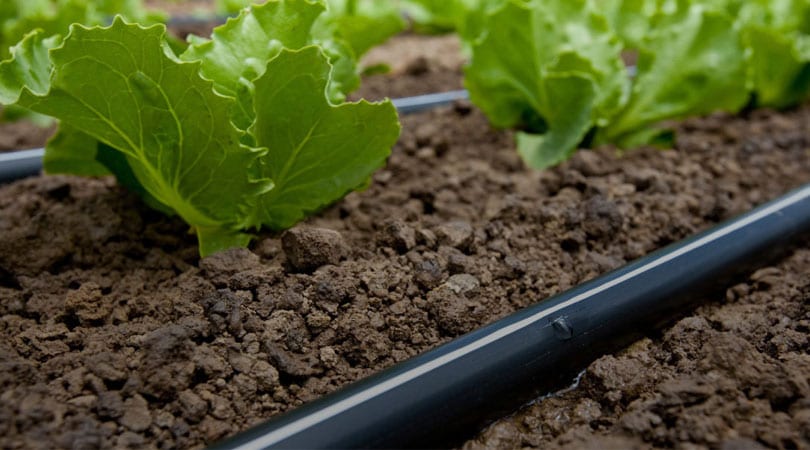
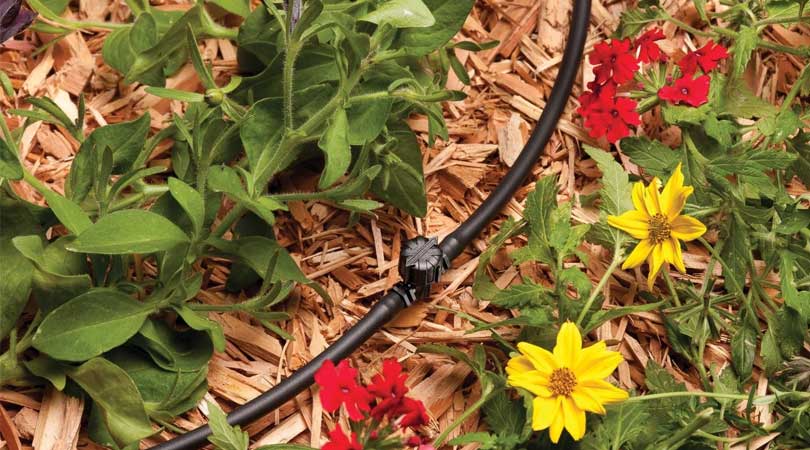
- Drip tubing that is laid on the surface of the ground between the plants
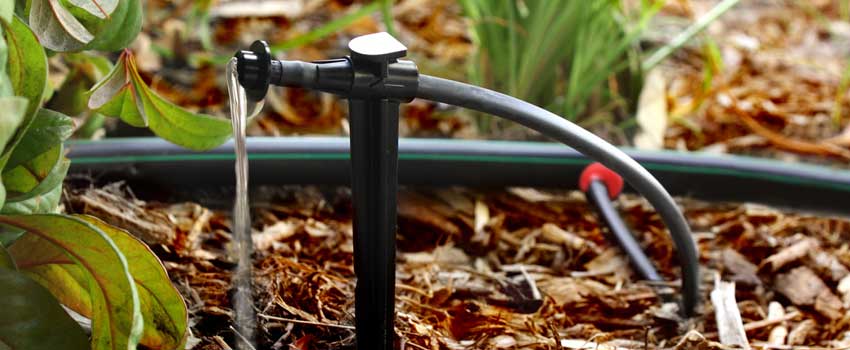
- Emitters that are attached to the drip tubing to regulate how fast water is released to the soil - they are usually small plastic devices that are screwed on to the drip tube
- End cap to close the system and ensure that the water stays inside the drip tube
Everything listed above is usually found in a standard drip irrigation system. However, each system will be set-up or designed differently based on particular yard size or the amount/type of vegetation that needs to be watered by the system.
 The usual rule of thumb is that 1-2 emitters are required per plant (depending on the size). Of course, larger trees or shrubs may need more. The more emitters there are, the more moisture is released into the soil. They are usually placed at least 18” apart, as this distance usual provides an adequate distribution of water within the system. Drip tubes should also be staked into the ground about once every three feet to prevent them from wandering or moving around too much during day to day use.
How a Drip Irrigation System is Installed
First, the locations of all shrubs, trees, grass, flowers, and other plants that need to be water should be compiled and mapped out. Depending on the soil in your yard, different types of emitters and spacing may be used. Water tends to go straight down in sandier soil, so emitters are usually spaced closer together. Loamy soil tends to hold water a bit longer, so spacers should be spaced a little further apart. Finally, clay soil absorbs water the slowest - spacers should be around 18” to 24” apart.
The first step in the installation process is to connect the drip irrigation system to the main water source - usually a faucet, valve, or sprinkler. Once connected, it is time to attach the drip line to the system and position it properly along the ground. Holes are then punched (with proper spacing) to fit emitters that deliver the water in the system to the soil. After everything is set up and water is being properly dispersed to the desired areas, routine checking of nozzles and emitters is required to ensure that the system continues to operate smoothly.
Maintaining Your Drip Irrigation System
A drip irrigation system is becoming a popular choice amongst consumers. It conserves water and saves you money. Plus, you have little or no work to do when it comes to watering your property.
Yet, you’ve still got to do a few things to maintain your system and keep it in tip-top shape. In fact, a well-maintained system should last you for many years.
But what should you know? How do you maintain your drip irrigation system?
The good news: It’s not exactly hard work and it’s not super time-consuming, but it pays off in the long-run. Let’s take a look.
How Often Should You Check Your Drip Irrigation System?
The system doesn’t necessarily require weekly or daily checks. But you may want to consider checking it periodically to ensure it’s functioning optimally. For instance, look for spots that may have been overwatered or underwatered. These can provide key indicators on whether or not your system is working efficiently or not. It may also be a smart idea to check the system out before the hot summer season starts. Do a quick run-through every spring to ensure each part is functioning properly.
You’ll want to periodically look at the following parts of your irrigation system:
→ The Fittings. Are the connections secure at each valve control zone? If these are broken, water loss can happen quickly, costing you. Check them out to make sure they are secure.
→ The Filters. The right filter size and type matters. It’s a good idea to ensure these are right for your system. The filters help keep contaminants and dirt out of the system preventing blockages. They help ensure that your system lasts.
→ Check For Potential Leaks. This is where you’ll want to check the water distribution. If one spot seems overwatered, there may be a leak present. In conjunction with this, there is also usually a dry spot that isn’t getting water due to a leak further up the line.
→ Assess the Controller. Turn on the controller. Make sure all the valves are open. Then, make your rounds and check for leaks and adequate flow. Mark the leaks as you find them.
→ Check the Pressure. High pressure is the most common issue with drip irrigation system malfunctions. The average drip irrigation system operates at about 20-50 psi. How do you check this? Go around to each lateral drive. Make sure the pressure is within the right range.
Keep Extra Parts on Hand (Just in Case)
Keeping extra parts on hand guarantees that you can make the repair quickly and easily. It’s not particularly difficult to fix a drip irrigation system. And if you’ve got a few extra parts of common breakages, it can save you time and hassle, as well as provide an easy fix. Store a few parts in your shed or garage. When the time comes, you’ll be happy you did!
Cover Your Irrigation System Using Mulch
Sun and foot traffic may cause damage to the tubing of your system. To prevent cracks or sun damage, cover these tubings with mulch. It won’t only extend the life of your irrigation system, but will also improve the aesthetic look of your yard. Mulch also prevents water loss via evaporation.
Make a Checklist!
Make a checklist of items to assess periodically and actions to perform to ensure the optimal functioning of your drip irrigation system. Or use the one below:
→ Flush the system. If you don’t have a self-cleaning filter, this includes flushing the filter and the screen.
→ Check each part of the system separately. Turn on one part at a time. Is it functioning well? Is the flow good? Are there dry or super wet spots?
→ Check for damaged or clogged emitters, damaged or missing fittings, and kinked or damaged tubing.
→ If the emitter is clogged, soak it in vinegar.
→ Check the pressure!
→ Replace the damaged emitters or other parts.
→ Clean your drip system.
It doesn’t have to be complicated when it comes to taking proper care of your drip irrigation system. Remember, having an irrigation system is supposed to make your life easier. Make sure you’re maintaining yours properly today.
Advantages and Disadvantages of Drip Irrigation
There are many positive things associated with using a drip irrigation system in your yard.
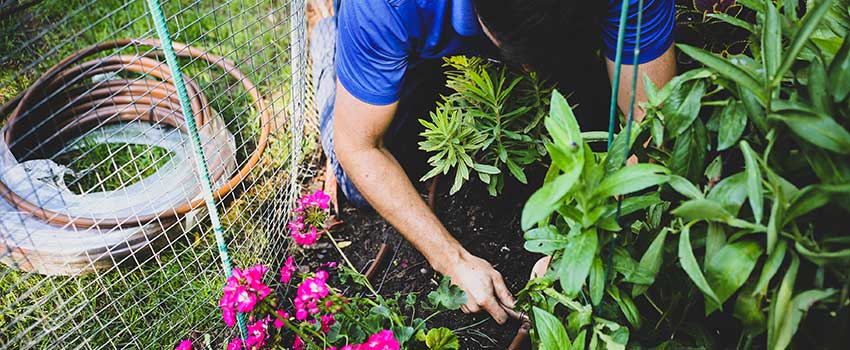
Apart from cutting down on water use and saving you money, drip irrigation is also inexpensive and relatively easy to install. As long as the main water source is still accessible, the system can also be moved to a different location with relative ease. It is a perfect solution for watering shrubs, trees, grass, and flowers in many different types of soil.
 Drip irrigation is also a great way to disperse fertilizer directly to the roots of plants, as it can be added to the dripline and mixed into the rest of the system. It doesn’t matter if you are watering, fertilizing, or both - drip irrigation gives homeowners direct control of the entire irrigation process (amount, location, spacing, etc.). A quality drip irrigation system will also totally eliminate drift, which happens when the wind carries water from a standard sprinkler system away from the soil and into undesired areas like sidewalks or other walkways.
It also eliminates water leaching below the root system and ensures equal water distribution. Foliage doesn’t get wet in the process, which greatly decreases the chance of disease and blight. Weed control is also increased, as water is only applied to select areas which, in turn, reduces weed growth. Drip Irrigation also nicely tackles uneven surface area, as the dripline easily runs along the ground regardless of yard shape or elevation.
Finally, energy costs are also usually much cheaper, as the water pressure in a standard drip irrigation system is substantially lower compared to other irrigation methods.
Although there are many advantages to installing a drip irrigation system, there are also a couple of potential disadvantages.
The system may require a bit more maintenance than other irrigation methods, as it will likely need to be flushed out at least once per month. This is due to the fact that some water particles will still clog up the filters and emitters - the nozzles of the emitters also need to be cleaned out fairly frequently as well because of their close proximity to the ground/soil.
 Drip irrigation is also likely best used in situations where there are flower beds, shrubs, or small patches of grass - a traditional large lawn may benefit more from other irrigation methods since water would need to be dispersed over a great surface area. The drip tubing can also break down over time depending on how much foot traffic is in the surrounding area and how much direct sunlight it receives.
Finally, diligent oversight is required to make sure that the irrigation continues to work optimally and is keeping your plants healthy and disease free. Plant health usually declines gradually, so checking the system often will ensure that everything continues to run smoothly.
Now that you know exactly what drip irrigation is, how a drip irrigation system is installed, and what exactly the advantages and disadvantages of the system are, that information can be used to help make a decision about what irrigation system might work best for your particular needs.