If your lawn irrigation system isn’t working the way it used to, it might be time to repair it. There might be some broken parts or minor issues impairing it, and it’s best to get it fixed as soon as possible. If you need some help with your system, keep reading to see 6 tips to repair your lawn irrigation.
This is a guide to checking out minor repairs that you can make yourself, but if there are any issues beyond a small one, it’s time to call an expert. You don’t want to mess with your system too much and cause even more damage, plus, they are likely well informed about what will need to be done.
1. Run Your System To Diagnose The Issues
The first thing you need to do is see what isn’t working for you. There are many parts in an irrigation system that can become damaged or broken completely, and you need to figure out what’s wrong before starting your repairs. Turn the system on and walk through it so you can assess it and make sure it’s just one issue you’re dealing with.
Different problems will require different solutions, and there might be multiple issues that need fixing before they will work. Repairing your lawn irrigation system might require extra parts, so you need to know which brand and style your irrigation system is if you need to order them. Educate yourself a bit on your system before you start looking at how to make some of these minor repairs.
2. Check every sprinkler head.
That is usually a pretty simple fix if one individual sprinkler head isn’t working. Go through each one and make sure it is spraying with the same pressure as the rest of them. If you find a weak sprinkler head, you know that it is likely the one causing you problems. If the sprinkler heads are all working fine, but you still have low pressure or an area that isn’t getting any water, it’s time to check for a line issue.
Sprinkler heads are one of the easiest things to replace if you know the make and model. You can replace many of them by unscrewing the faulty sprinkler head and screwing a new sprinkler head-on, but others might require a screwdriver to remove. A new sprinkler head can be found online or by your irrigation installer.
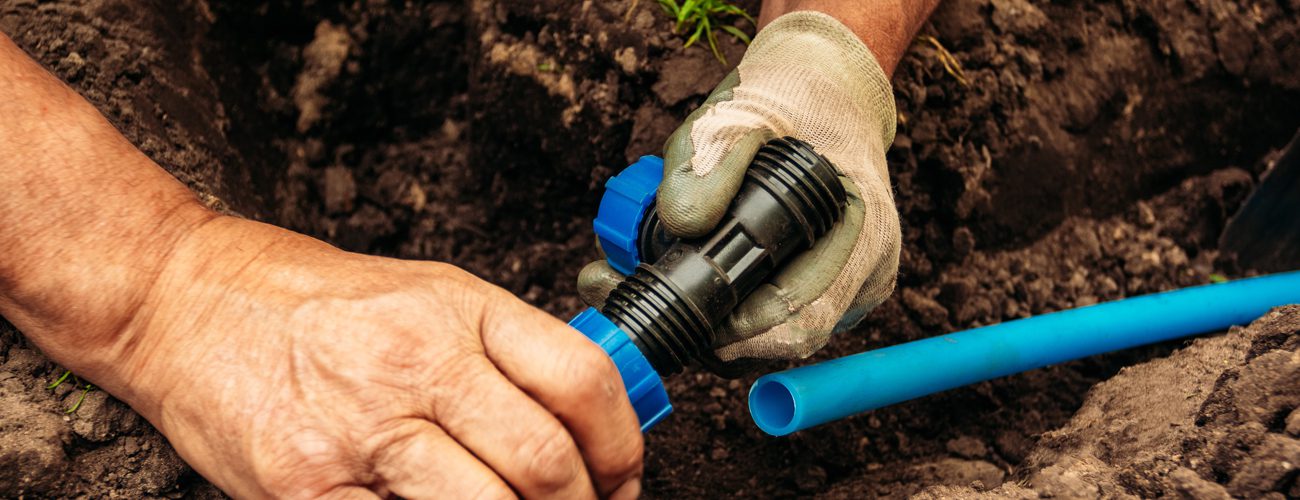
3. Check your lines
Your lines are what distribute the water from your main valve box, and each one should be clean and running correctly. If you find that one of your lines isn’t working while the other ones are, you need to start looking at some issues that might be causing it.
Lines can run into leaks, separations, and cracks from winter freezing issues. It’s essential to ensure the lines are shut down properly in the colder months; otherwise, frozen water can expand and burst your lines. If you find that one area isn’t getting water through multiple sprinkler heads, it’s likely an issue with the line or the supply coming from your valve box.
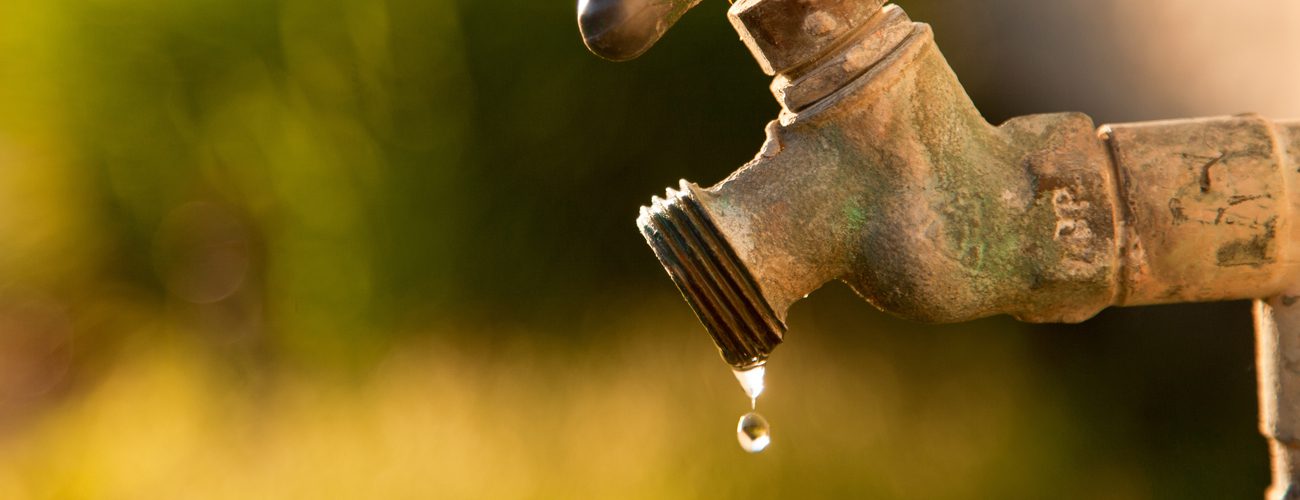
4. Check the pressure
If your system is running, but it’s not as powerful as it usually is, then it’s an issue with your water pressure. The backflow device needs to be turned on to create enough water pressure to push the water through each sprinkler head. Low pressure will make the sprinkler heads run poorly, while too much pressure can cause damage to your system.

5. Check out your transformer.
The transformer is the computer panel that controls all valves and keeps the system on schedule. If it’s having a power issue, then it might be causing your system to work improperly. Check that the power is connected and make sure that the program is set to the same one you usually have it set to.
You can use a multi-tester to check the voltage and mate sure it is receiving enough power to function. Anything under 22 volts means that you should replace the transformer. If the power is fine, then it might have a programming issue so try manually resetting it to jump-start the program again.
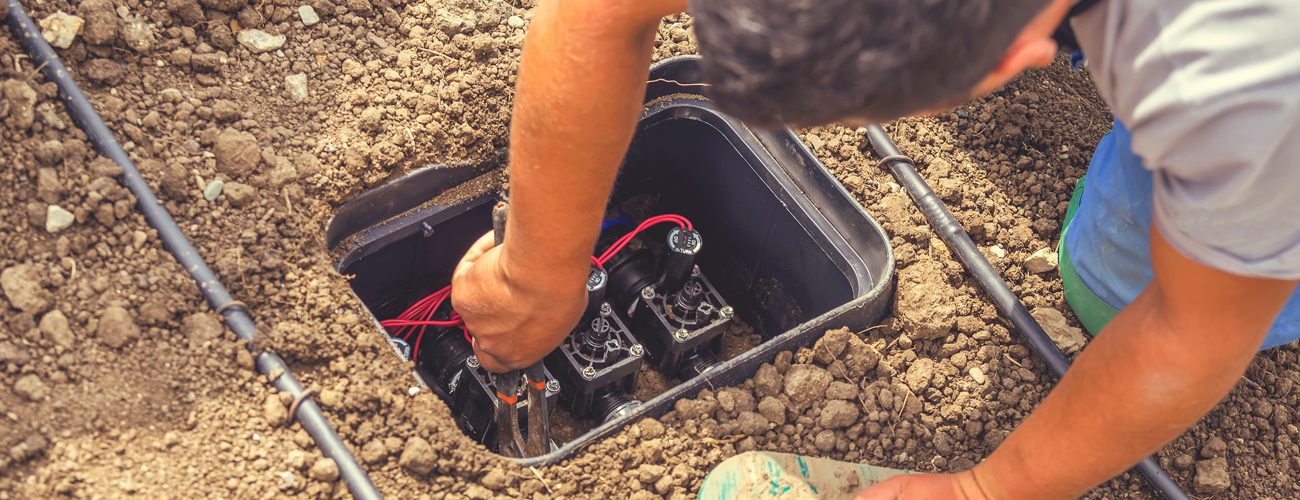
6. Check your valve box.
Sprinkler systems are designed with the main valve box made to delegate where the water will flow down which line. If you have low pressure on all of your sprinklers or an area that isn’t getting water, check out your valve box to see if it is functioning correctly. You can run into several issues with your valve box that might be causing a problem.
First, check and see if any wiring or screws are loose and ensure all outgoing pipes are securely attached. Look for leaks that might be happening at your valve or around the outgoing lines. If you have any leaking, you might need to replace the diaphragm or the entire zone valve.
What Can I Do To Prevent Issues?
Preventing any major breakage is as simple as keeping up on your irrigation system’s essential maintenance. It would help if you educated yourself on your system and how it works so you can get an idea of what is happening when an issue comes up. It’s also a good idea to make sure you know how to properly open and close your irrigation system for the seasons to prevent any future damage.
A few things could go wrong with your irrigation system, but knowing what the problem is will help you fix it much sooner. It might be as simple as replacing a part or as difficult as replacing one of your lines, so make sure you diagnose the problem correctly before you start your repairs. If you can’t fix it yourself, make sure you ask an expert to avoid damaging the system